
The mullet, a timeless hairstyle that blends business in the front with a party in the back, has resurged as a cultural icon, emphasizing the significance for barbers to master its art.
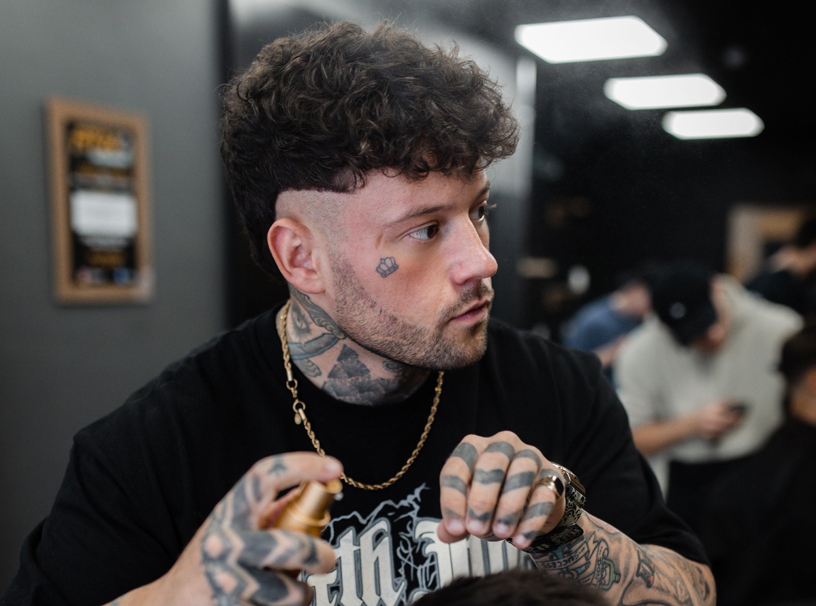
Understanding the mullet's unique blend of precision and creativity allows barbers to cater to clients seeking this distinctive style, showcasing their expertise and versatility while satisfying the diverse tastes of their customers.
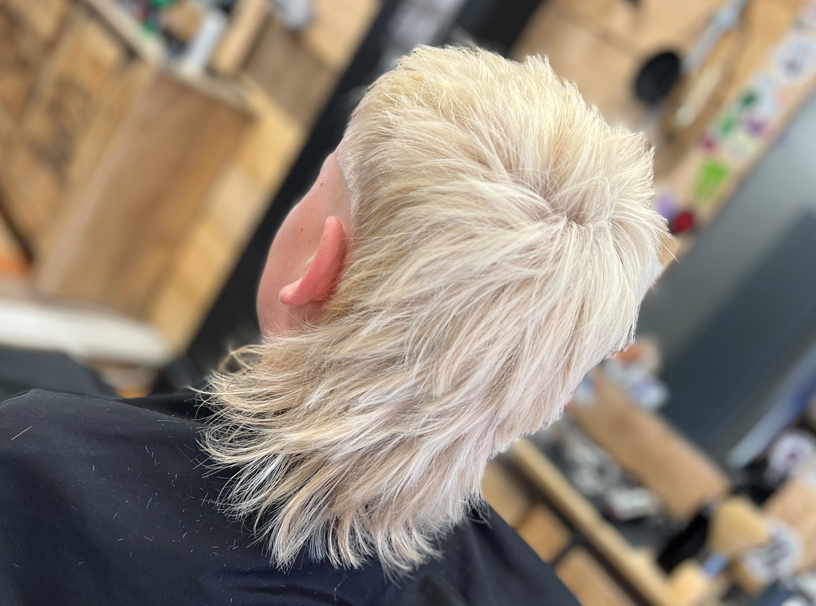
We caught up with shop owner and educator Ryan Lewis, to find out more about this style and his steps for creating a heavily textured mullet in poker straight hair. Ryan said: "I absolutely love mullets because of their sheer diversity - there's a mullet for every soul out there, they are a canvas to express passions and personalities. As barbers, delving into the art of mullet-making is crucial; it's the key to unlock the true potential of this iconic style. Nail it, and you empower people to flaunt their uniqueness; botch it, and it's a tragic tale of awful haircuts."
Step-by-Step
- Using STMNT Serum to help with section work, take a vertical section from the crown to the nape, pulling further away towards the bottom to create a layered effect and more length as you descend.
- Continue taking vertical sections either side of that middle section all over directed back towards the first section taken. This will create a far fuller and longer look towards the ears ensuring this mullet cannot be missed even from a head on angle.
- Taking horizontal sections from the crown down, use a deep point cutting technique to break up the edges and create more movement throughout the back of the mullet.
- Connect the back of the mullet to the top of the hair using a profile section from just below the crown running up to around the recession area of the head.
- Using a deep point cutting method, create exaggerated “peaks and valleys” in the hair following the guide set by the previous profile section taken. It’s important with such straight hair to cut in deep “peaks and valleys” to create a rough textured look.
- Use a similar technique to chop into the fringe leaving a broken choppy finish to add to this extreme textured look.
- Grab a natural finish product like STMNT Curl Cream and cover the hair before blow-drying with a diffuser to bring about a soft pre-styled shape.
- Blend both side panels from a grade 2 into a 3 before using your trimmer to create a blunt, harsh line curving clean from the peak of the hairline back sitting flush with the natural curve around the ears.
- Take your roughest matte products and work them into the hair in back-and-forth motions allowing the hair to overlap and bring out the extreme texture that’s been cut in! I used STMNT Dry Clay with a little Spray Powder to refine!